Making Armored Sleeves (Kote) for a Samurai Armour
Navigation:
- HELMET: Making a Kabuto (Japanese Samurai Helmet) with Kydex
- MASK: Making a Men Yoroi (Mempo) for a Japanese Armour
- SLEEVES:Making a Kote and Tekko (Armored Sleeves with upper and lower plates and hand plates)
- CUIRASS: Making a Japanese Do (harness or cuirass) in the lamellar style with kydex kozane plates
Bauanleitung in deutscher Sprache auf halloland.de:
I decided to build an arm protection that reminds at Bishamon-gote. It consists of chainmail for covering the elbow part and plates in splinter shape for the forearm. I shows a solid upper arm protection, and solid plates and chain mail for hands and fingers. This is supposed to having been a common design in japanese medieaval times (12th century).
If you start to build armored sleeves yourself, be prepared to do a lot of sewing -most of it, by hand.
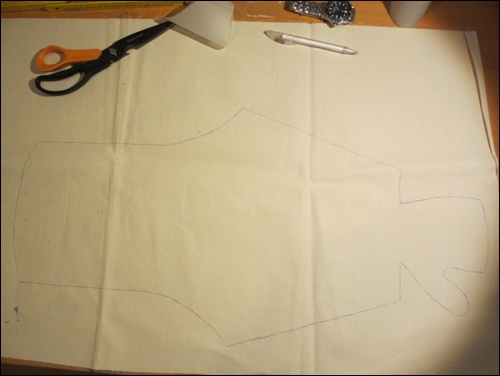
I purchased a thick solid canvas fabric for the basis of my kote. Additionally, I purchase a nice colored cotton fabric for the out outside of the kote. Then I designed a pattern on a piece of paper, first.
I drafted the pattern for the sleeve on paper. Then I transferred this to a piece of canvas.
In order to make this patter, I measured
- the length of your arm (shoulder to hand),
- hand to elbow
- the circumference of wrist,
- upper forearm and
- upper arm
This gave me all data for designing a pattern for a sleeve. I tried the paper patterns on my arms -as good as possible- just to make sure it fits. Make sure you add 2 cm all around. this is needed nice you need additional fabric for sewing. So, make it a bit larger that actually needed.
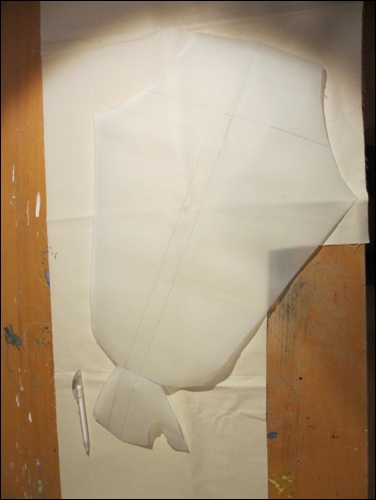
The pattern for the sleeves are drafted onto a piece of fabric. I used solid canvas.
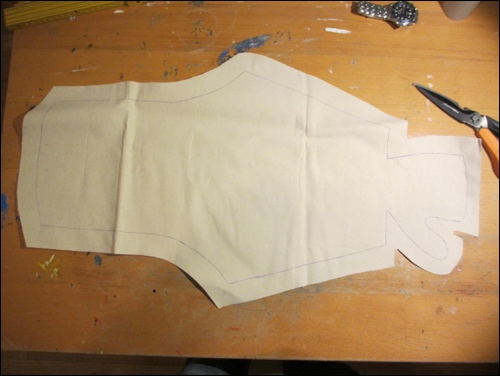
The solid canvas fabric is cut.
On this picture you can see that I added some space all around.
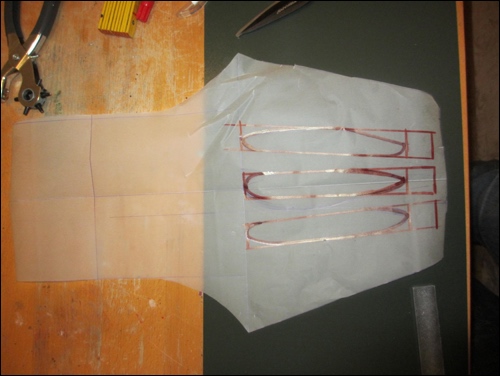
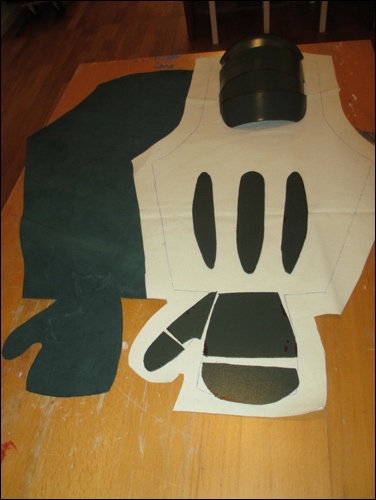
Pattern for the sleeves (on paper) along with initial draft for the plates for the forearm
After I had cut the sleeve pattern, I designed the splinter-shaped plates for the forearm – on paper. I cut it out and tested the paper drafts on the canvas.

I decided to not do totally symmetrical splinter patterns for the lower arms. Rather does the design follow the requirements of my personal forearm.
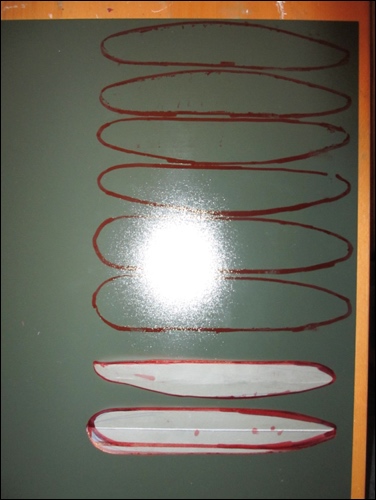
Forearm plate patterns are drafted onto the kydex plate.
I don´t have the equipment for working with steel, unfortunately. However, I will do my next amor in full metal. This time, I used kydex instead metal, since kydex is easy to saw and put in shape in an oven (140 degrees celsius).
After I had cut and prepared the forearm plates, I went for the upper arm plates. I cut larger parts out of kydex:

Basic shapes for the upper arm plates.
I decided to bend the upper arm plates and lace them together, then. I heated the plates in the oven (140 degrees celsius) and then formed them in a round shape but bending it in shape on the round side of a kitchen pot. The slight bend on the very upper plate just follows the natural form of the upper edge of my kitchen pot.
I rounded the corners of the very lower plate. I then drilled holes, following the traditional patterns.
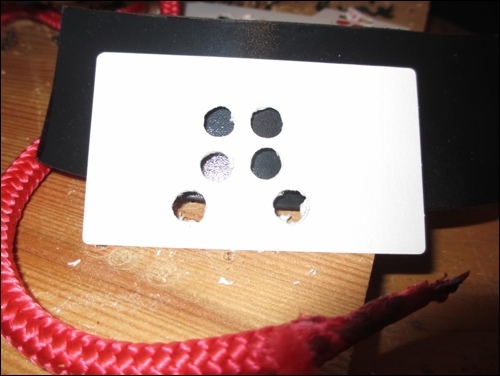
Drill pattern for lacing the plates together
The plates are cut and bent. The holes are drilled and the follow the traditional drill patterns.
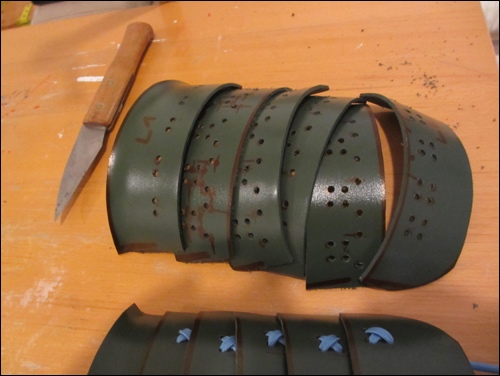
I then laced the plates together just to see if they fit.
Lacing the plates together
I sanded all edges, unlaced them again and then painted them with a nice black color.
Then, I designed the plates for the thumb and hand. I proceeded as usual: I designed a patter on paper, transferred this to a kydex plate, cut it out and sanded the edges. I bent the hand plate the same way I had bent the upper arm plates – on the rounding of a pot. I order to make sure that all plates will fit the fabric, I gave it a try:
I cut all plates out of kydex. I order to make sure that all fits well, I put it onto the canvas patterns and double checked, that all would fit. Only then did I continue. However, in the end I decided not to use the forefinger plates that you can see on the picture above. I went for chainmail here, instead.
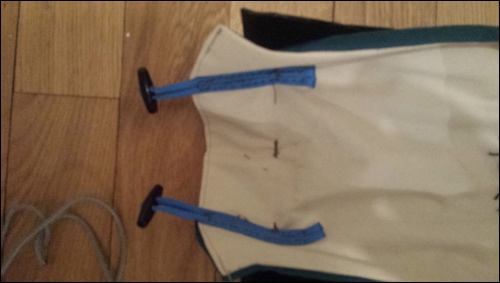
Now, all is about sewing. I decided that I would want to use laces for later fixing the sleeves to my arm. So first of all, I prepared loops that will later on take the lace. Therefore, I tool a thin cord and sew it together so that a row of laces came into existence.
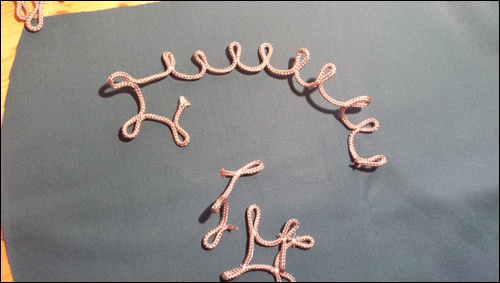
Preparing the loop for the sleeves. The sleeves is will be tied together with a lace that goes through the loops.
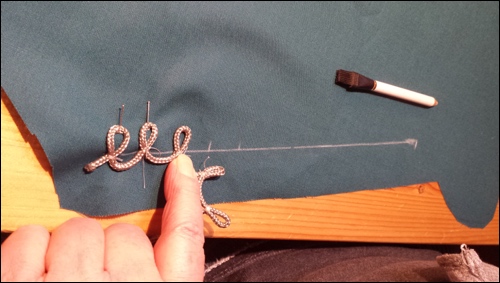
A lot of sewing is required to get the tools to the sleeves
Fixing the tools on the fabric of the sleeves
I sewed the chord of laces to the designed edge of the sleeves. It was sewed on the inside of the thin cotton cover fabric.
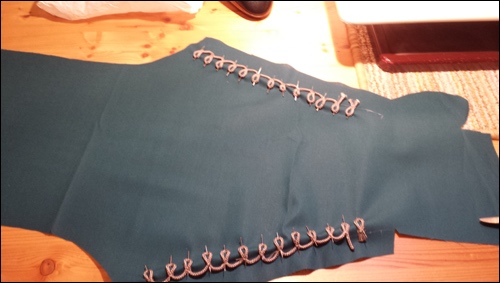
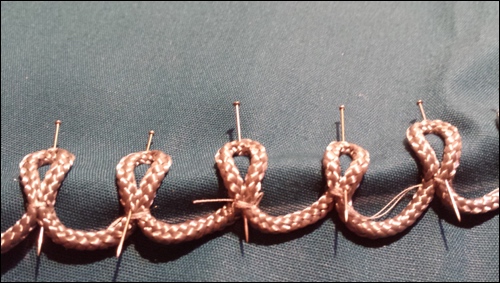
The loops are fixed on the sleeves
Here you look on to the inside of the cover fabric. Now, I sewed the solid, thick canvas on to it and then turned everything inside out. Finally, the loops sits on the inside, between canvas and light cotton fabric.
For optical purposes I added a golden lace.
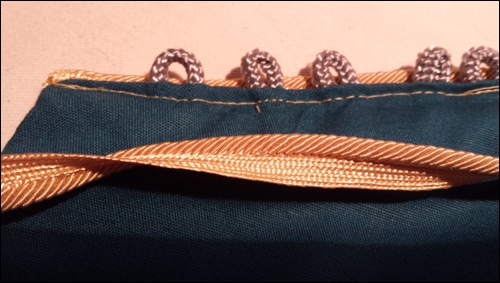
A beautiful golden lace was added to the edge of the sleeve, right behind the loops
Now, the fabric work is done and it is about sewing the plats to the fabric. Therefore, I painted all plates black and drilled all required holes.
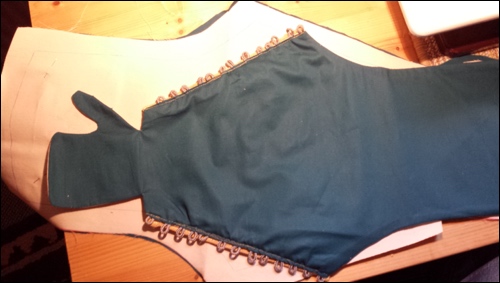
The base fabric, consisting of solid canvas (white) and a nice, thin colored cotton fabric.

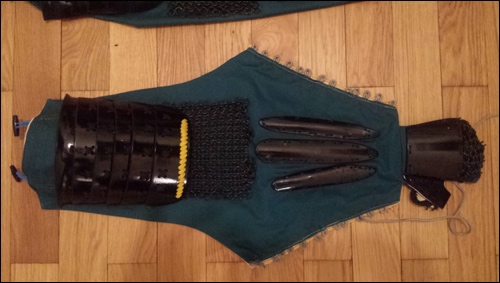
The splinter shaped plates are sewed to the sleeves.
All plates are painted and all holes are drilled. Now it is about sewing the plates to the sleeve. I also used chain mail. It went to the fingers as well as to the elbow part.
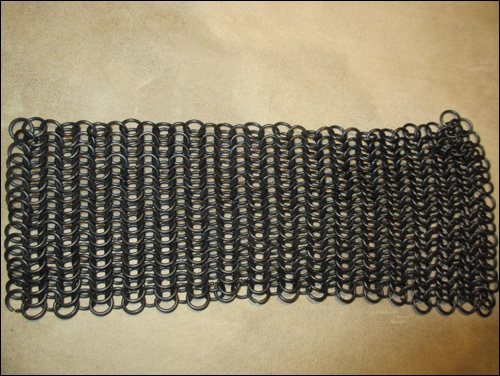
I could not produce chain mail by myself, so I purchased it, online. You will find it easily, online, as long as you do not insist in hand made and properly hand-forged chain mail.
It was pretty tricky to cut the chain mail in the right shape without destroying the entire chain mail pattern.
I fixed toggle buttons to the inside of the sleeve. These are important, since the will serve to fix the sleeve to the shoulder pad.
Toggle Buttons
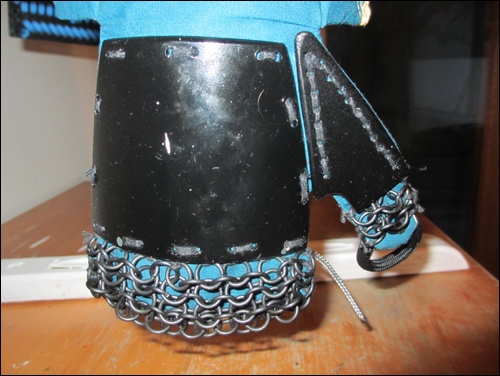
I used a fine lace that goes through the loops, this way, the sleeve can be fixed to the forearm. On the picture below, you can also see the pretty large amount of stitches I needed to make in order to sew the plates to the sleeve. Also note the loops on the inside of the hand. There is a loop that takes the thumb and one that takes all other four fingers. This way, the hand protection will stay where it belongs, even if you move.
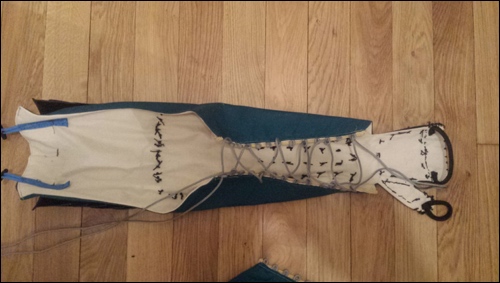
Inside view of the armored sleeve
Full view of the armored japanese samurai sleeve
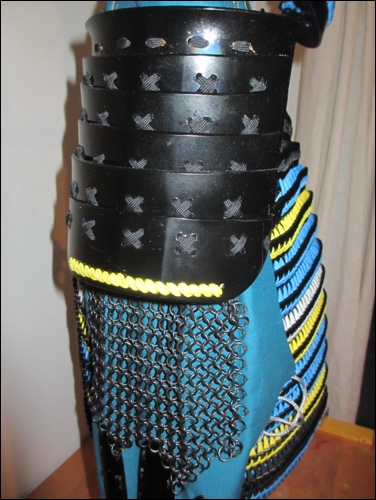
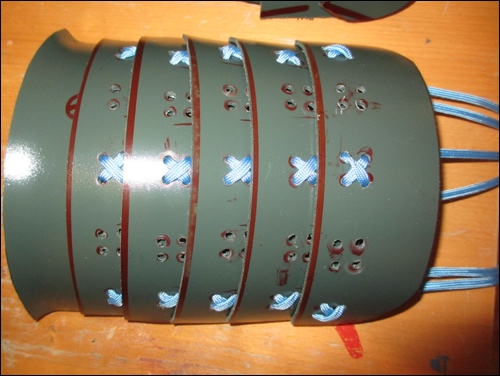
The upper plate is make of five solid, lightly rounded plates (of kydex) which are laced together in the traditional way.
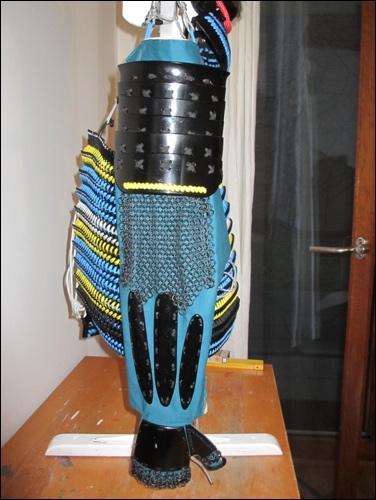
Upper plates, chain mail and lower plates on the sleeves.
A solid, lightly rounded shield protects the back of the hand. The base thumb is protected by a separate plate. For the protection of the middle of the fingers, I took chain mail as protection.
- HELMET: Making a Kabuto (Japanese Samurai Helmet) with Kydex
- MASK: Making a Men Yoroi (Mempo) for a Japanese Armour
- SLEEVES:Making a Kote and Tekko (Armored Sleeves with upper and lower plates and hand plates)
- CUIRASS: Making a Japanese Do (harness or cuirass) in the lamellar style with kydex kozane plates
Chris Gray on 31 Jan 2022 at 14:17 #
Very well done. Good job.
Torsten Wilp on 25 Sep 2023 at 07:20 #
Where can I find the sewing pattern, please?
admin on 25 Sep 2023 at 07:49 #
Hi
Check out http://halloland.de/ for more details on the „how-to“.
Check out https://sengokudaimyo.com for sewing patterns of all kind.
I hope this helps!
Chris